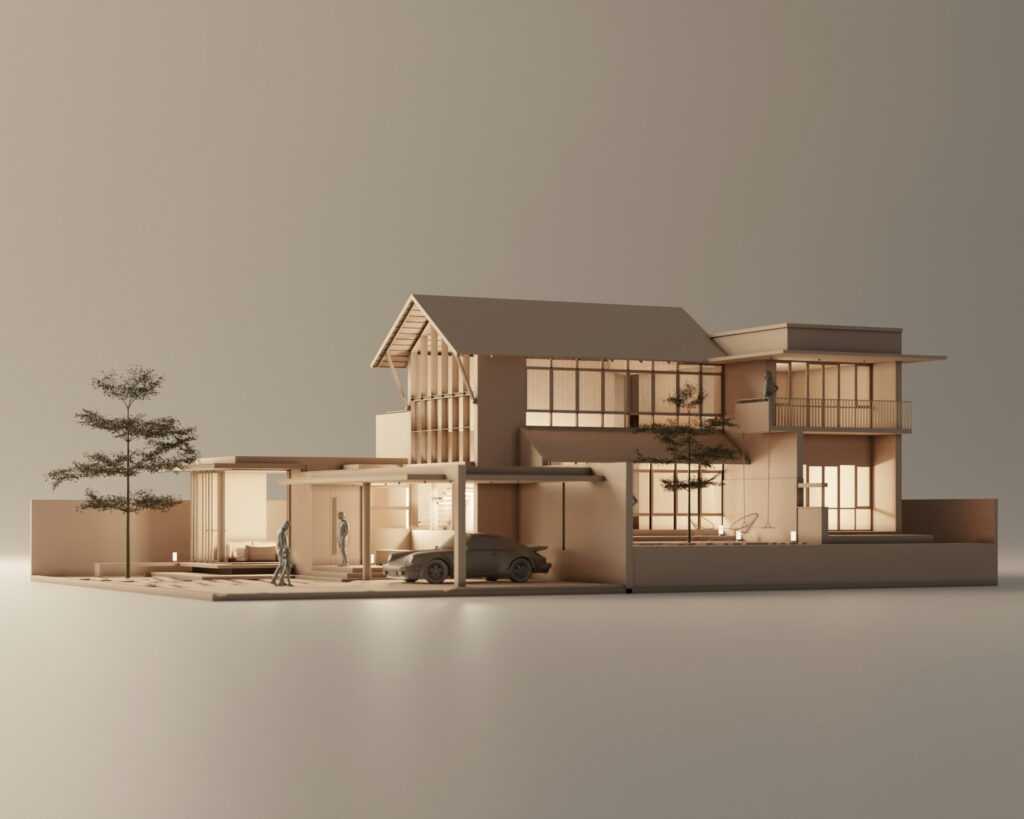
Build for What Weather Brings: Longevity Matters
Reality Check: The Outdoors Don’t Take a Day Off
Rain, sun, snow, and time keep moving—whether your yard is ready or not. One of the biggest mistakes homeowners make is underestimating how quickly weather can wear down outdoor upgrades. Even the most stylish patio or pergola can deteriorate fast without the right materials behind it.
What you’re up against:
- Constant UV exposure from direct sunlight
- Seasonal temperature fluctuations that cause expansion and cracking
- Moisture-driven issues like mold, rust, and rot
Upgrade Materials, Lower Long-Term Costs
Investing in durable, weather-resistant materials may feel expensive up front—but it saves thousands over time. Cheap fixes often turn into early repairs or full replacements.
Look for:
- Composite decking instead of untreated wood
- Powder-coated aluminum or stainless steel outdoor furniture
- Outdoor-rated paint, sealants, and textiles
These materials aren’t just trends—they’re tested solutions that stand up to long-term use.
A Higher-Value Yard Starts with Smart Choices
If resale value is on your mind, durable outdoor infrastructure is a smart selling point. Buyers love low-maintenance, well-built yards. When upgrades last and continue looking good, they add curb appeal and confidence.
Ways durable updates boost resale value:
- A properly sealed patio retains value longer
- Weatherproof lighting and sound systems signal quality
- Professionally installed features (like drainage or hardscaping) show serious planning
In short, building smart from the start means less stress, fewer repairs, and more value—both for your lifestyle and any future sale.
Pressure-Treated Lumber
Pressure-treated lumber is the old-school default for a reason—it’s affordable, widely available, and comes with built-in protection against rot, insects, and general wear. Still, it’s not a set-it-and-forget-it choice. You’ll need to commit to a regular care routine: sealing every year or two, cleaning off mildew, and checking for splinters or warping.
Up front, it’s cheaper than composite options, making it a solid pick for budget-conscious builds. But over time, that lower price can even out when you factor in maintenance costs and lifespan. On the plus side, it’s easy to work with and doesn’t need specialized tools, which still makes it a favorite for DIYers.
Comparing it to composite decking? Composite wins on ease—no sealing, no staining, and far more resistant to weather. But pressure-treated wood still offers that classic, authentic wood feel that some homeowners just prefer. Worth considering if you’re willing to put in a little elbow grease.
Design Decisions Start with the Environment
Before you break ground or sketch your layout, step back and observe your environment. Smart vlogging or content set design—whether for indoor studios or outdoor builds—starts with conditions you can’t control: the elements.
Sun, Rain, and Wind: Plan for the Elements
Environment dictates function. Understanding natural elements helps improve durability and production quality.
- Sunlight: Consider sun path and shadows during key filming hours. Morning or golden hour light might dictate camera angle or shade placement.
- Rain: Think about drainage and water pooling. Outdoor sets need to guard against moisture damage and slippery surfaces.
- Wind: For both audio protection and structural stability, analyze prevailing wind directions—especially in exposed areas.
Knowing where and how these elements interact with your space informs smarter choices early on.
Material Choice: Match the Site, Not Just the Style
Every material has strengths, but their effectiveness is context-specific.
- For wet areas: opt for water-resistant woods, composites, or sealed concrete.
- In hot climates: prioritize materials with low thermal retention.
- On wind-prone sites: use heavier surface anchors and materials with aerodynamic tolerances.
Choose materials that work with the environment—not against it.
Smart Layering: Build in Functional Steps
Creating durable, camera-ready surfaces requires a layered approach:
- Base: Your foundation layer—gravel, compacted earth, or concrete pad—ensures stability.
- Structure: Framing or framing-like elements provide elevation and form.
- Surface: This is your interactive layer—flooring, decking, or platforms—designed for performance and appearance.
- Seal: Weather-proofing, protective coatings, or surface treatments extend lifespan and usability.
Pro tip: Don’t skip the seal—most wear and tear happens from untreated exposure.
Smart layering not only improves function but also keeps your project looking sharp on camera, season after season.
Deck Sealants & Waterproof Membranes
When it comes to multi-layered outdoor builds, protecting what’s underneath is just as important as what’s on top. Deck sealants and waterproof membranes are the unsung heroes here. They stop water from seeping into substructures, which is crucial in climates with freeze-thaw cycles or heavy rain. Neglect this layer, and you’ll be dealing with rot, mold, or worse—collapse. Install once, do it right, and forget about it.
Proper Drainage Systems
Water needs an exit strategy. Whether you’re working on an elevated deck or a stone patio, you’ll want drainage systems baked into the design. For overhead spaces, underdeck drainage catches water before it drips onto the area below. On flat installs, a slight slope plus permeable materials (stone, gravel) keeps standing water at bay. Good drainage isn’t a luxury—it’s a basic requirement for long-term durability.
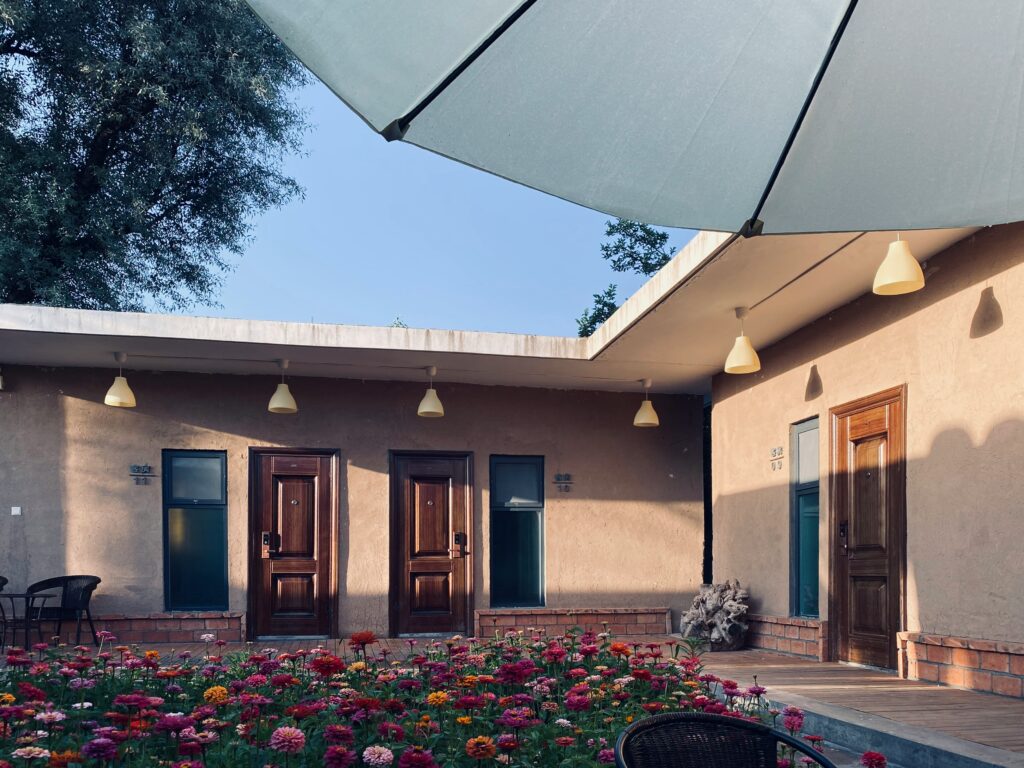
Fire Pits, Pergolas & Shade Structures
Outdoor features like fire pits and pergolas aren’t just nice to look at—they pull real weight. Fire pits create zone definition and extend usability beyond summer nights. Pergolas and shade structures block UV damage, protect furniture, and keep walk surfaces from overheating. The key is integration. Thoughtful placement that works with the sun path and wind direction turns these into assets instead of afterthoughts.
Durability beats decor when it comes to outdoor furniture that actually lasts. Skip the delicate stuff. Go for weather-resistant materials like powder-coated aluminum, teak, or all-weather wicker. Cushions should be quick-dry and fade-resistant—anything else ends up moldy or bleached by month two. Function first, then style.
For shade and comfort, covered patio roofs are now basically a must. A fixed structure adds permanence, but retractable awnings offer flexibility—roll it out in summer, tuck it away in winter. Bonus: both options help protect furniture and extend your outdoor season.
Don’t underestimate the power of smart landscaping. Grading your yard properly keeps heavy rains from pooling at your feet. Ground cover like river rock, mulch, or native grasses helps control drainage and gives your backyard a softer, warmer feel. It’s not just about looking good—it’s about living better.
For more ideas on creating private, stylish outdoor spaces, see Backyard Privacy Solutions: Fences, Plants, and Design Tricks.
Build Smart: Materials and Maintenance Matter
Good vlogging doesn’t stop at the camera and mic. Building a solid setup—both physical and digital—makes everything easier down the line. That means investing in materials and equipment that hold up. No one wants to replace busted tripods or faulty lighting every few months. Look for gear with strong warranties, solid reviews, and a track record among creators who don’t baby their setups.
But buying right is only half the job. Maintenance is part of the package. Keep your lenses clean, your software updated, your files backed up. If you’re filming in a makeshift studio—garage, van, spare room—weather, power, and noise control aren’t just nice-to-haves. They’re the difference between smooth editing and a reshoot headache.
Think of it like this: build it once, the smart way, and your creative energy goes into content—not fixing what shouldn’t have broken. Spend a little more (or plan a little farther ahead), and you’ll spend way less time troubleshooting.
 Ask Linda Rossindals how they got into interior design trends and you'll probably get a longer answer than you expected. The short version: Linda started doing it, got genuinely hooked, and at some point realized they had accumulated enough hard-won knowledge that it would be a waste not to share it. So they started writing.
What makes Linda worth reading is that they skips the obvious stuff. Nobody needs another surface-level take on Interior Design Trends, Essential Gardening Tips, Outdoor Living Solutions. What readers actually want is the nuance — the part that only becomes clear after you've made a few mistakes and figured out why. That's the territory Linda operates in. The writing is direct, occasionally blunt, and always built around what's actually true rather than what sounds good in an article. They has little patience for filler, which means they's pieces tend to be denser with real information than the average post on the same subject.
Linda doesn't write to impress anyone. They writes because they has things to say that they genuinely thinks people should hear. That motivation — basic as it sounds — produces something noticeably different from content written for clicks or word count. Readers pick up on it. The comments on Linda's work tend to reflect that.
Ask Linda Rossindals how they got into interior design trends and you'll probably get a longer answer than you expected. The short version: Linda started doing it, got genuinely hooked, and at some point realized they had accumulated enough hard-won knowledge that it would be a waste not to share it. So they started writing.
What makes Linda worth reading is that they skips the obvious stuff. Nobody needs another surface-level take on Interior Design Trends, Essential Gardening Tips, Outdoor Living Solutions. What readers actually want is the nuance — the part that only becomes clear after you've made a few mistakes and figured out why. That's the territory Linda operates in. The writing is direct, occasionally blunt, and always built around what's actually true rather than what sounds good in an article. They has little patience for filler, which means they's pieces tend to be denser with real information than the average post on the same subject.
Linda doesn't write to impress anyone. They writes because they has things to say that they genuinely thinks people should hear. That motivation — basic as it sounds — produces something noticeably different from content written for clicks or word count. Readers pick up on it. The comments on Linda's work tend to reflect that.