Quick Fixes for a Running Toilet
If your toilet keeps running long after you’ve flushed, the problem is likely one of two common culprits. Thankfully, many of these fixes can be handled in under 10 minutes with basic tools.
Common Cause: Flapper Chain or Worn-Out Flapper
A constantly running toilet often stems from a faulty flapper mechanism inside the tank. Here’s what to look for:
-
Flapper Chain Issues
-
The chain connecting the flush handle to the flapper may be too long or too short.
-
If it’s too short, the flapper won’t seal fully.
-
If it’s too long, the chain might get caught under the flapper.
-
Worn-Out Flapper
-
Over time, the rubber flapper can degrade or become misshapen.
-
A poor seal allows water to continuously leak into the bowl.
Quick Fixes You Can Do in Under 10 Minutes
Tackling these issues is easier than it seems. Quick solutions include:
-
Adjust the Chain Length
-
Make sure there’s a slight slack when the flapper is closed.
-
Test by flushing and observing the movement.
-
Clean or Replace the Flapper
-
Shut off the water supply.
-
Flush to empty the tank.
-
Remove the old flapper and either clean any gunk or install a new one (they’re inexpensive and available at any hardware store).
How to Test If Your Repair Actually Worked
Before walking away, confirm the fix actually solved the issue:
-
Flush the Toilet
-
Watch the tank refill and ensure the flapper seals properly.
-
Listen Closely
-
A successful repair should result in silence after the tank fills.
-
Drop Test
-
Add a few drops of food coloring to the tank.
-
Wait 10–15 minutes without flushing.
-
If color shows up in the bowl, there’s still a leak to address.
Once you’ve verified the repair, you’re all set—no plumber needed!
Homeownership comes with a punch list of repairs, some big and some small. Knowing where to draw the line between DIY and calling in a pro is key. You can save real money tackling the basics—replacing a faucet, patching drywall, or swapping out a faulty light switch—but only if you know what you’re doing. Safety always wins. If the job involves gas lines, major electrical work, or anything structural, step back and call someone who’s licensed to handle it.
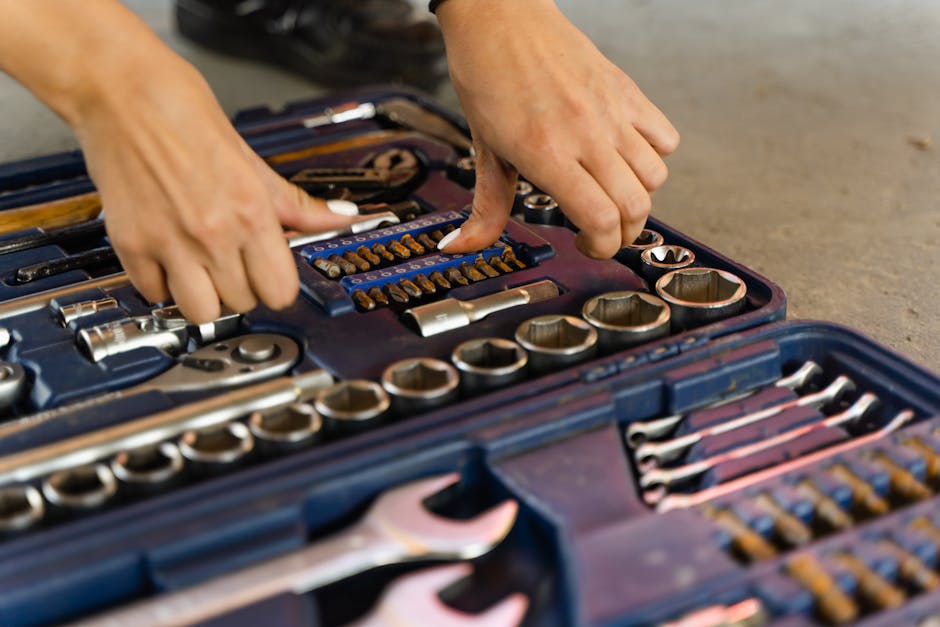
That said, building out a small, smart toolkit can set you up to handle a surprising number of fixes on your own. A solid starter set includes a cordless drill, a set of screwdrivers, a hammer, pliers, adjustable wrench, utility knife, tape measure, stud finder, and safety gear like gloves and eye protection. Add a tube of caulk and a level, and you’re more prepared than most.
Tackling simple repairs with the right gear and a YouTube tutorial can save you hundreds a year—without cutting corners on safety. The trick is knowing your limit and not letting pride cost you more down the road.
Clogged drains are a pain, but clearing them doesn’t always mean pouring a bottle of chemicals down the sink. Natural solutions—like baking soda and vinegar—work surprisingly well for mild buildup and are easier on your pipes (and your nose). Pour half a cup of baking soda followed by a cup of vinegar into the drain, let it fizz for 15–20 minutes, then flush it with hot water. It’s not magic, but it works for grease and mild blockages.
If that doesn’t cut it, mechanical tools step in. A good plunger isn’t just for toilets—it can handle backed-up sinks too. Be sure to cover any overflow openings and pump with quick, solid motions. Still stuck? A drain snake (or auger) is your best bet. Feed it slowly into the pipe, twist when you feel resistance, and pull out whatever’s causing the mess. No need to be delicate—it’s already a war zone in there.
For prevention, keep it simple and steady. Don’t treat your sink like a trash bin. Use mesh strainers to catch debris, toss grease in the trash (not the drain), and flush your drains monthly with boiling water or that baking soda cocktail. Build habits, not emergencies. Your drains—and your weekend—will thank you.
Clearing & Reassembling Your P-Trap: A Quick How-To
Your P-trap may seem like a minor plumbing component, but it’s one of the most important features under your sink. Knowing how to clean and properly reassemble it can save you from clogs, odors, and unnecessary plumbing bills.
What Is a P-Trap—and Why It Matters
Beneath your sink, the curved pipe you see is the P-trap. Its purpose includes:
- Blocking sewer gases from entering your home
- Collecting debris that could otherwise cause deeper clogs in your plumbing
- Catching small items that may accidentally fall down the drain (like rings or earrings)
Over time, materials like hair, grease, and food particles can build up inside the trap, causing slow drainage or foul odors.
How to Clean Out the Gunk (Without Damaging Anything)
Before you start, gather the right tools:
- A bucket
- Adjustable pliers or a wrench
- An old toothbrush or small scrub brush
- Towels to catch drips
Step-by-Step:
- Place the bucket under the trap to catch water.
- Loosen the slip nuts on either side of the P-trap using pliers.
- Remove the trap and drain it into the bucket.
- Clean out the debris inside the trap with your brush. Be gentle—no sharp tools.
- Check the washers for wear. Replace them if needed to prevent leaks.
Avoid using harsh chemicals or force that could crack or corrode the trap.
Reassemble the P-Trap—The Right Way
Putting everything back together is just as important:
- Align the trap carefully with the tailpiece and drain pipe
- Tighten the slip nuts by hand first, then slightly snug them with pliers (don’t overtighten)
- Run water to check for leaks
Regular cleaning every few months can prevent buildup and keep your plumbing in top shape. If your trap clogs frequently, it may be a sign of deeper issues—don’t hesitate to consult a professional.
Fixing a leaky faucet isn’t rocket science, but it starts with knowing what kind of faucet you’re working on. Most kitchen faucets fall into one of four types: compression, cartridge, ceramic disc, or ball. Compression types use rubber washers and are usually the culprits in classic drip issues. Cartridge and disc faucets, common in newer homes, offer smoother control and fewer leaks. Ball faucets tend to be older, single-handle models with a rotating ball mechanism.
Once you’ve identified the type, the gasket and washer replacement is a straight shot.
-
Shut off the water. Look under the sink for the hot and cold valves. Turn them clockwise—firm but not gorilla-tight. If your valves are stuck or crusty, a wrench helps, but go easy to avoid snapping anything. Run the faucet to drain residual water.
-
Pop off decorative caps and unscrew the handle. Set parts aside in the order you remove them. Take a photo. You’ll thank yourself later.
-
Depending on the type, access the internal valve. For compression faucets, replace the rubber washer at the base of the stem. Cartridge and disc types usually need a new rubber gasket or a replacement cartridge altogether.
-
Reassemble—tight but not overtight. Reopen the shutoff valves slowly, watch for leaks.
Pro tip: If you’re skittish about a full shutoff, stuff old rags under the sink and have a small bucket ready. It won’t save you from a plumbing disaster, but it buys you time. And time is everything when water is pouring out where it shouldn’t.
Low water pressure isn’t always a plumbing catastrophe—it just feels like one when you’re late and the shower barely drips. Step one: figure out if it’s just one fixture or the whole house. If it’s just the kitchen sink or a single bathroom, odds are it’s localized. Whole-house issues point to something deeper.
For localized problems, start with the faucet aerator. Unscrew it, rinse out grit or sediment, and screw it back on. Same goes for showerheads—mineral buildup can choke the flow. Soak the head in vinegar for an hour, scrub if needed, and you might be back in business.
If every tap is acting up—or if cleaning fixtures doesn’t help—you’re probably looking at a valve issue or some sneaky corrosion deep in your pipes. That’s above DIY pay grade. Time to call in a pro, especially before you start tearing into walls. Quick fixes are great, but knowing when to stop saves time, money, and headaches.
Why Insulating Pipes Is More Than Just a Winter Concern
Pipe insulation isn’t just about keeping things from freezing in January. Year-round, uninsulated pipes can sweat, leak energy, and rack up hidden costs. When warmer air hits cold pipes—say, on a humid summer day—condensation builds fast. That moisture can drip into drywall, floors, or insulation, triggering mold and long-term damage. It’s also an unnecessary hit to energy efficiency. Hot water pipes lose heat with every foot they travel uninsulated, meaning you pay more just to get a warm shower.
Luckily, this is an easy fix. Most people can wrap exposed indoor pipes in less than an afternoon. Here’s what you’ll need:
- Foam pipe insulation sleeves (measure diameters first)
- A utility knife or insulation cutter for clean, accurate cuts
- Zip ties or insulation tape to lock everything down
- Optional: a heat cable for pipes in extremely cold spots
Start with the most vulnerable stretches—pipes in attics, garages, crawl spaces, or along exterior walls. Don’t skip joints and corners; snug-fitting insulation around bends keeps heat loss and condensation in check. For aging insulation, ripping it out and upgrading to new foam or fiberglass wraps is one of the simplest energy improvements you can make.
Bottom line: insulating pipes is low-effort, high-reward. It reduces damage risk, saves on utility bills, and makes your system more efficient all year long.
While you’ve got the wrench in hand and the water shut off, it’s worth taking a few extra minutes to tackle small bathroom upgrades that actually make a difference. Swapping out that old faucet or dated showerhead isn’t just about aesthetics—it’s about water efficiency, too. Low-flow fixtures cost a few bucks more upfront, but they’ll quietly save you gallons (and dollars) over time.
These are quick installs—no drywall surgery or pro plumber needed. Focus on upgrades that do double duty: cleaner design and smarter function. Modern fixtures often come with adjustable flow settings, built-in filters, or eco-friendly certifications, all of which upgrade your bathroom without overcomplicating things.
If you’re already in DIY mode, stack this on your weekend list. For more easy wins like these, check out: Weekend Projects: Simple Home Upgrades That Pack a Punch.
Weekend Plumbing Fixes: Stay Calm, Stay Capable
Even a minor plumbing hiccup can throw off your entire weekend—but it doesn’t have to. With a little preparation, a basic toolkit, and the right mindset, you can handle simple repairs without panic or professional calls.
Don’t Let a Leak Ruin Your Plans
When a faucet starts dripping or a toilet runs non-stop, it’s easy to feel overwhelmed. But tackling these common issues doesn’t require being a pro. The key is knowing what you’re dealing with and moving forward with a clear, measured approach.
Your At-Home Plumbing Starter Kit
Being prepared means having the right tools and materials on hand. Stock up before trouble starts so you’re ready when it does.
Every DIY plumber should have:
- A pipe wrench or adjustable wrench
- Plumber’s tape (Teflon tape)
- A quality plunger
- A basin wrench for tight spaces
- Replacement washers or shutoff valves
- A bucket and a few old towels
Know When to DIY—and When to Call In Help
Understanding your limits is just as important as having the right tools. Attempting a repair you’re unsure about can make things worse and cost more in the long run.
Before starting a repair, ask yourself:
- Is this affecting water pressure or causing a major leak?
- Do I know how to fully shut off the water supply?
- Is this repair something I’ve researched or tried before?
- Am I confident I can troubleshoot if things don’t go as planned?
If the answer to any of these is “no,” you’re better off calling a licensed plumber.
Fix with Confidence, Not Guesswork
There are plenty of tutorials and step-by-step videos online—use them to work smarter, not harder. Take your time, follow instructions, and stay patient. Rushed fixes often turn into bigger hassles.
Quick tips for confident repairs:
- Always shut off the water before starting
- Take photos as you disassemble—helpful for reassembly
- Double-check part compatibility before replacing components
Bottom Line
Weekend plumbing problems don’t have to derail your day. With a basic toolkit, some know-how, and a bit of confidence, you can handle small issues safely, efficiently, and without panic.
When you’re dealing with major leaks, foul sewer odors, or strange water discoloration, it’s not just an inconvenience—it’s a warning sign. These aren’t issues to put on your ‘fix later’ list. They often point to serious plumbing problems behind the scenes: cracked pipes, backed-up lines, or corrosion sneaking through old fixtures.
Fixing these typically means getting into the guts of your home. Think drywall cuts, pipe rerouting, sometimes even floor or ceiling removal. It’s not a quick patch—it’s surgery.
And here’s the kicker: stalling makes everything worse. Moisture spreads. Odors deepen. Repair costs creep higher the longer you wait. A slow leak today could be a full break and water damage claim tomorrow.
Bottom line? If something smells, leaks, or looks off, get on it early. You’ll save stress, money, and most of your walls.