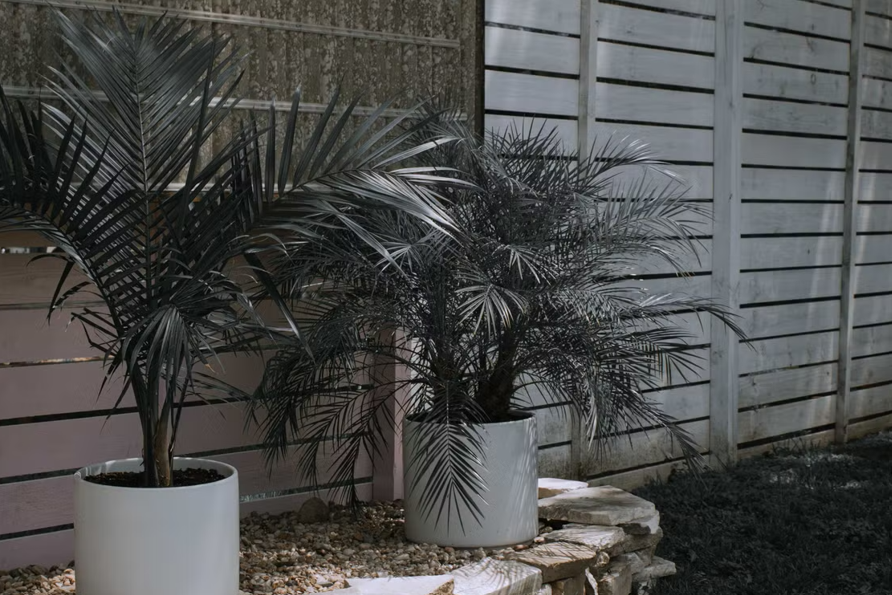
Most backyard renovations start with aesthetics: furniture, plants, and lighting. Privacy usually comes last, once you realise the neighbours can see your Sunday morning coffee routine in full detail. A freestanding privacy screen solves that without the commitment of a permanent fence, and building one yourself keeps the cost reasonable and the design entirely under your control.
This guide walks through the process from material selection to final assembly, with enough detail to complete the project over a weekend.
Planning Before You Build
Sketch the screen location before buying anything. Think about sun direction, existing landscaping, and how the screen will be anchored. A freestanding structure is typically easier to position than one bolted to an existing deck or wall, though it needs a solid footing or weighted base to stay put in the wind.
Choosing the Right Lumber
Cedar and redwood are the standard choices for outdoor structures because they resist moisture and insects naturally. Pressure-treated pine costs less and holds up well, but it needs time to dry before painting or staining. Whichever species you use, the frame will only perform as long as the fasteners do. Standard interior screws corrode within a season outdoors, causing the wood to split and stain around the fastener. You can find a full range of exterior-rated fasteners for this kind of project here.
Materials and Fastener Specs
For a screen measuring roughly 6 feet tall by 8 feet wide, you will need two vertical posts (4×4), horizontal rails (2×4), and your choice of infill material: cedar fence boards, lattice panels, or horizontal slats. The infill is where the visual character comes from, so spend time on this choice.
Selecting the Right Screw for Each Joint
Different joints in the frame call for different fasteners. The post-to-rail connections handle the most structural load, so use structural screws or lag screws of at least 3 inches for those. For attaching fence boards or slat infill to the rails, standard deck screws in the 1.5 to 2 inch range work well. Stainless steel or hot-dipped galvanized coatings are essential for any screw that will be exposed to rain. Star Fasteners Plus carries a range of coated outdoor screws designed specifically for this kind of application. The coating matters: electroplated zinc screws, commonly sold as general-purpose, are not adequate for a structure left outside year-round.
Building the Frame
Start by assembling the frame flat on the ground. Lay out the two vertical posts and attach the top and bottom rails first, checking for square at each corner before driving any screws. A speed square costs a few dollars and removes most of the guesswork here. Once the perimeter frame is square and the screws are set, add any intermediate horizontal rails at even intervals across the height of the screen.
With the frame assembled, attach the infill. For horizontal slat designs, work from the bottom up and use a spacer cut from scrap wood to keep gaps consistent. Pre-drill through the slats before driving screws to avoid splitting, especially near the ends of boards. Two screws per board at each rail keep everything tight without overcomplicating the fastening pattern.
Finishing and Anchoring
Sand any rough edges before applying a finish. For cedar and redwood, a penetrating oil or exterior stain works better than paint because it allows the wood to breathe and move with seasonal changes without cracking. Pressure-treated pine needs a solid primer coat before paint will adhere properly. The relationship between climate, moisture, and wood performance is well documented by Building Science Corporation, whose research on wood durability explains why exposure conditions should drive finish selection as much as aesthetics do.
Anchoring the finished screen depends on the surface. On grass or soil, metal post stakes driven into the ground are the fastest option. On concrete or pavers, surface-mount post bases bolted to the patio give a cleaner look and a more stable footing. Either way, the screen should not shift in light wind once it is in place. If it does, the base needs more weight or a wider anchor point, not more fasteners in the frame.
A well-built privacy screen adds immediate value to a backyard without the cost or permanence of a full fence. With the right lumber, proper fasteners, and a few hours of careful assembly, it is a project most homeowners can complete confidently on their own.
 Ask Donel Robertsonail how they got into diy home improvement ideas and you'll probably get a longer answer than you expected. The short version: Donel started doing it, got genuinely hooked, and at some point realized they had accumulated enough hard-won knowledge that it would be a waste not to share it. So they started writing.
What makes Donel worth reading is that they skips the obvious stuff. Nobody needs another surface-level take on DIY Home Improvement Ideas, Outdoor Living Solutions, Essential Gardening Tips. What readers actually want is the nuance — the part that only becomes clear after you've made a few mistakes and figured out why. That's the territory Donel operates in. The writing is direct, occasionally blunt, and always built around what's actually true rather than what sounds good in an article. They has little patience for filler, which means they's pieces tend to be denser with real information than the average post on the same subject.
Donel doesn't write to impress anyone. They writes because they has things to say that they genuinely thinks people should hear. That motivation — basic as it sounds — produces something noticeably different from content written for clicks or word count. Readers pick up on it. The comments on Donel's work tend to reflect that.
Ask Donel Robertsonail how they got into diy home improvement ideas and you'll probably get a longer answer than you expected. The short version: Donel started doing it, got genuinely hooked, and at some point realized they had accumulated enough hard-won knowledge that it would be a waste not to share it. So they started writing.
What makes Donel worth reading is that they skips the obvious stuff. Nobody needs another surface-level take on DIY Home Improvement Ideas, Outdoor Living Solutions, Essential Gardening Tips. What readers actually want is the nuance — the part that only becomes clear after you've made a few mistakes and figured out why. That's the territory Donel operates in. The writing is direct, occasionally blunt, and always built around what's actually true rather than what sounds good in an article. They has little patience for filler, which means they's pieces tend to be denser with real information than the average post on the same subject.
Donel doesn't write to impress anyone. They writes because they has things to say that they genuinely thinks people should hear. That motivation — basic as it sounds — produces something noticeably different from content written for clicks or word count. Readers pick up on it. The comments on Donel's work tend to reflect that.